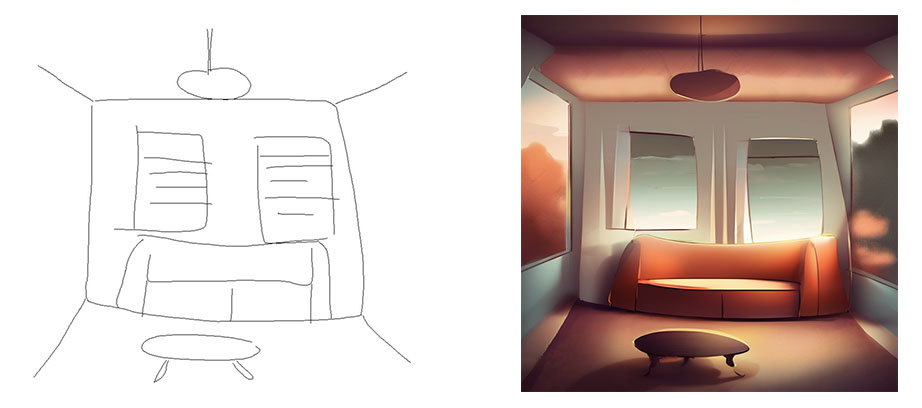
What is Sketch-to-Image?
Sketch to Image is to turn a simple drawing or sketch into a stylized image using an Ai tool such as Stable Diffusion Webui.
How to run Sketch to Image using Stable Diffusion Webui?
1. If you don’t have stable diffusion Webui installed, go to Install stable diffusion webui on Windows.
2. If you haven’t installed ControlNet, go to install ControlNet in Stable Diffusion Webui.
3. Go to ControlNet -v1-1 to download “control_v11p_sd15_scribble.pth” and put it in the directory “extensions\sd-webui-controlnet\models.”
4. Draw a simple sketch for your image.
5. Run “stable-diffusion-webui/webui-user.bat” to open Stable Diffusion Webui in a browser at http://127.0.0.1:7860/.
6. Select a Stable Diffusion checkpoint in the drop down.
7. In txt2img tab, enter your prompt to describe your image. Set Width and Height around 768 ~1024 if you are using a sdxl checkpoint. Set the image ratio the same an the input image. Other settings can be default.
8. Expand ControlNet section. Drag your drawing to the first Single Image. Check “Enable”.
9. In ControlType, select “Scribble.” Preprocessor will fill with “scribble_pidinet”, In Model dropdown, select “control_v11p_sd15_scribble.”
10. Click Generate button.
Tip: If the generated image don’t follow the input sketch, you can try these two things: (1) Check the console to see if there are errors due to conflicts. If there are, change to another checkpoint and try again. (2) Close and restart Webui to clear cached data.