DreamBooth is a method used to train a few given images of a subject, and generate a model by building on pretrained model. Then you can use this new model to generate images of the subject in different scenes, poses, and views. In this post of dreambooth webui, we will install and use dreambooth in Stable Diffusion Webui.
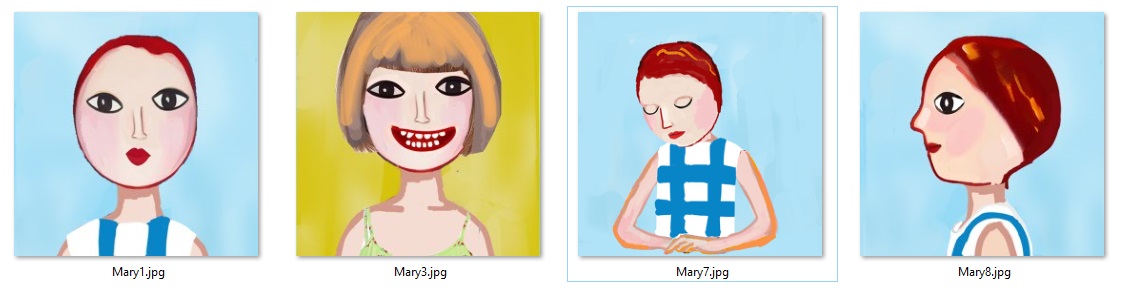
Input images
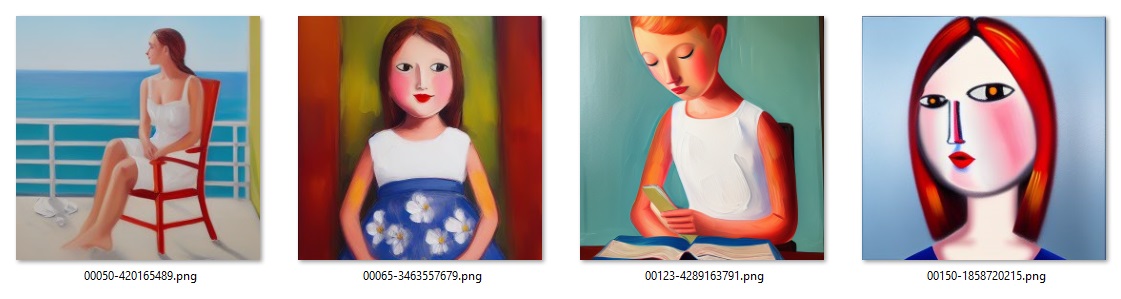
Text-to-image with the trained model
How to use DreamBooth in Stable Diffusion Webui?
1. If you don’t have Stable Diffusion Webui installed, go to install stable diffusion webui on Windows.
2. Open Stable Diffusion Webui, click Extensions tab, and click Load From button. Search for “DreamBooth”, and click Install.
3. Restart Webui. In Stable Diffusion checkpoint, select “v1-5-pruned-emaonly.ckpt”. If you had “sd_vae“ turned on before (a dropdown on the top), please remove it in settings->user interface.
4. A new Dreambooth tab is showing on the top. Click the Dreambooth tab. You see 4 buttons at the top and 3 panels underneath in the Dreambooth interface.
5. In Model panel at left, click Create tab. Enter a name for your model, eg “xyzPhoto”. Check “512x Model”. In Source Checkpoint, select “v1-5-pruned-emaonly.ckpt”. Click Create Model button.
6. Wait for a few minutes, go to Select tab in Model panel. When you see “xyzPhoto” is in the model dropdown, you can move on.
7. Go to Input panel. Keep most as default in settings tab. Just change these 3 parameters: select Optimizer to “8bit AdamW”. Select Mixed Precision to “fp16”. Select Memory Attention to “xformers”.
8. Click Concepts tab in Input panel. In Dataset Directory, enter the path of your input images. In Sample Image Prompt, enter “A photo of swx person”. (change “person” to other subject based on your input).
9. Click Save Settings button at the top. Then click Train orange button next to it. Monitor the Stable Diffusion webui console to see any errors.
10. Wait for 1~2 hours (depending on your computer) for the training to finish. When it finishes, you will see a new model at “\models\Stable-diffusion\xyzPhoto” in your webui folder.
11. To test, change Stable diffusion checkpoint to your model. In txt2img tab, enter a prompt “a portrait of swx person” or “swx person is checking his phone”, the same way as you generate images usually. Check the output images and adjust your prompts.
Note: In this post, we are using stable diffusion v1.5 checkpoints. You prepare 5~10 512×512 images of the subject for the model. Put them in one folder.