To create tutorial videos for YouTube doesn’t have to mean showing your face or recording your own voice. With today’s free AI tools, you can produce professional, engaging videos entirely on your computer. From generating scripts and voiceovers to animating avatars and syncing audio, these tools make it simple to create high-quality tutorial videos without expensive software or recording equipment.
There are many ways to use AI tools for content creation, but in this post, we’ll focus on a practical, step-by-step workflow that’s completely free to start. You’ll learn how to plan, produce, and edit a YouTube tutorial video using tools that automate most of the process — perfect for beginners or anyone who wants to make videos efficiently.
Table of Contents
1. Write the Script – ChatGPT
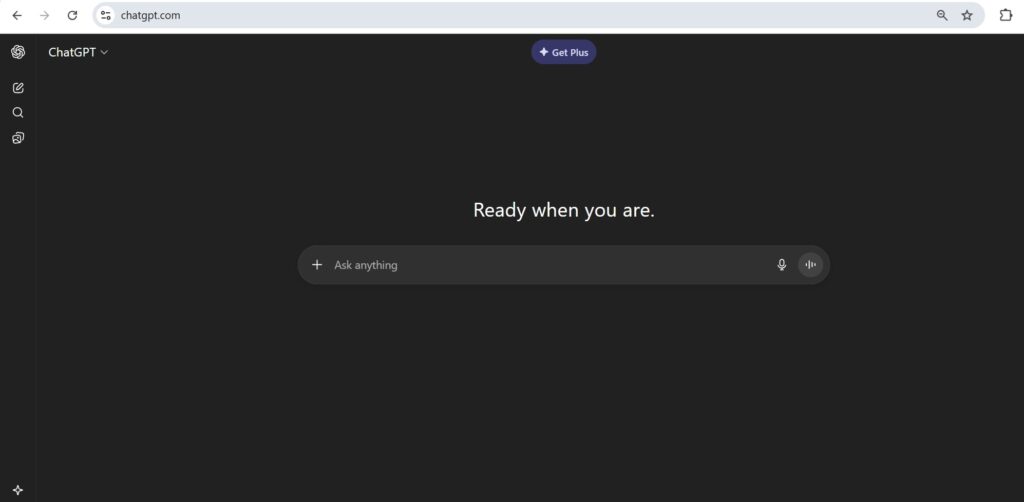
Start by opening your browser and navigating to ChatGPT. Enter a prompt that describes the video you want to create — include details such as the topic, style, and target audience. ChatGPT will generate a complete script for you, including both voiceover text and visual directions.
Once you have the draft, take time to review and refine it. You may need to add specific details, adjust the tone to make it more conversational or engaging, or clarify certain points for accuracy. Don’t hesitate to iterate a few times — refining the script is key to producing a natural and compelling tutorial.
When you’re satisfied with the result, ask ChatGPT to extract only the voiceover lines, organized line by line. This will make it much easier to generate the voice narration in the next step.
2. Generate the Voice – Google AI Studio
Next, go to Google AI Studio to create the voiceover for your video. Once there, select “Single-Speaker Audio” from the options on the right. In the panel, choose a voice that best fits the style and tone of your tutorial — for example, a friendly, professional, or neutral voice.
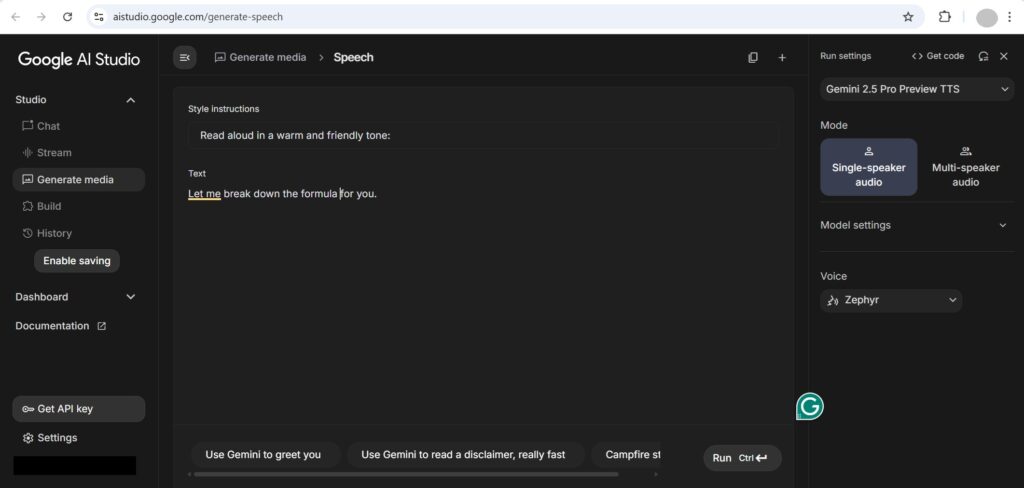
Copy one line of your voiceover script into the Text field, then click the Run button at the bottom to generate the audio. Wait a few moments for the process to complete.
When the voice clip is ready, it will automatically play for a preview. To save it, click the three dots next to the playback controls and select Download to get your generated audio file.
3. Record Your Screen – CapCut
If your tutorial involves demonstrating on-screen actions, you can use CapCut to record your screen. Start by downloading CapCut and installing it on your computer.
After launching the app, you’ll see the main dashboard. Click “Record Screen” to begin. You’ll be prompted to select the area of your screen you want to capture — adjust it as needed. When you’re ready, click the red “Start Recording” button to begin.
Once you’ve finished the demonstration, click the red “Stop Recording” button. CapCut will then save your recording, and you can download the file for editing later.
4. Create an Avatar – ChatGPT and Gemini
To include an avatar in your tutorial, start with a photo that clearly shows a face. You can use your own image or find inspiration online.
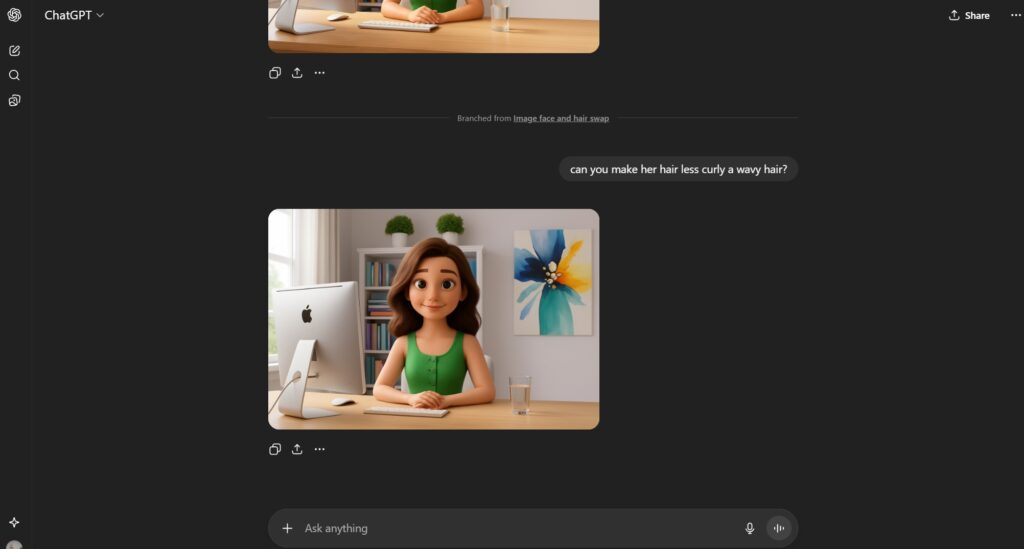
Upload the image to ChatGPT and provide a prompt describing the style you want — for example, “convert this character into a 3D Pixar-style avatar” or “make it look like a 2D Disney animation.” ChatGPT will generate a styled version of your image based on your description.
Once the avatar is created, you can further refine it by requesting adjustments such as changing the facial expression, outfit, or pose. Keep in mind that ChatGPT has a daily limit for image generations.
If you reach that limit, switch to Google Gemini, which allows unlimited image generations. It’s best to start with ChatGPT for creating your base avatar, since it generally produces higher-quality results, and then use Gemini for modifying details like outfits or backgrounds.
5. Adjust Audio Length – Audacity
Most lip-sync applications work best with audio clips of 5, 10, or 30 seconds in length. Therefore, you may need to trim or adjust your generated audio files before moving on to the lip-syncing step. You can easily do this using Audacity, a free and open-source audio editor.

Start by downloading Audacity and installing it on your computer. Once installed, open the program and import your audio files. You can then edit them as needed — for example, stitch multiple clips together or split a long file into shorter segments to match the required duration.
When you’re satisfied with the edits, go to the File menu and select “Export Audio” to save your final files. Your audio is now ready to be used for lip-syncing in the next step.
6. Create Lip Sync Animation – Digen & DreamFace
There are many AI tools available for lip-syncing, but Digen and DreamFace are among the most generous and deliver good-quality results for free.
Start with Digen, as it offers 300 free credits when you sign up and adds 120 credits daily. You can create a 5-second lip-sync video using just 20 credits, which makes it ideal for short clips.
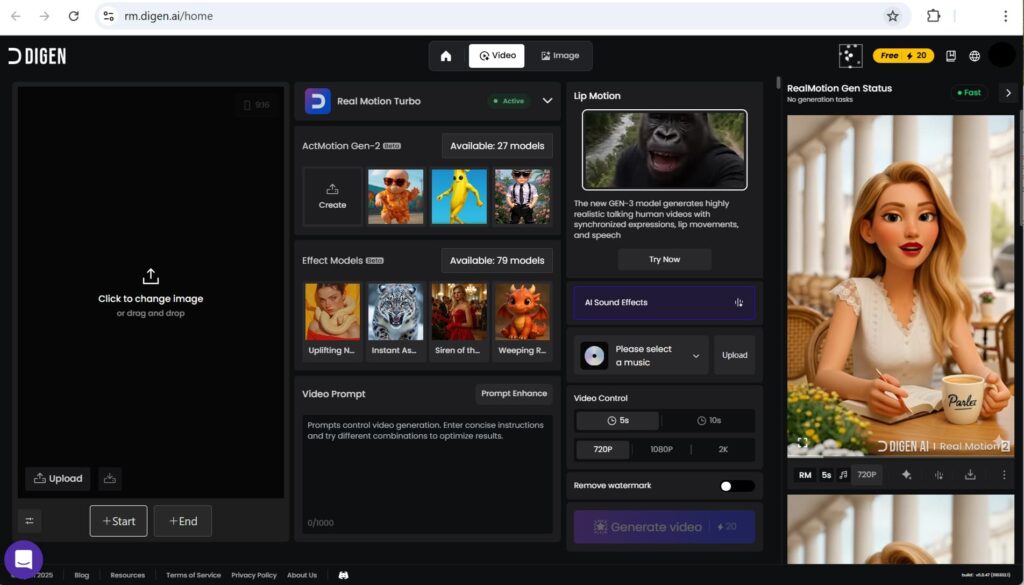
On the left side of the Digen interface, click the “Upload” button (or drag in your avatar image) to set it as the starting frame. In the Video Prompt section at the bottom center, enter your prompt describing the desired speech or action. On the right panel, click “Upload” to add your voice file. Keep the default settings, such as 5 seconds and 720p, then click “Generate Video.” Once the rendering is complete, click “Download with watermark” to save the video file.
When you’ve used up your free credits from Digen, switch to DreamFace Avatar Video, which allows you to generate clips of up to 30 seconds. It refines mouth synchronization for smoother, more realistic lip movements.

In DreamFace, use the “+ Photos/Videos” option on the left panel. For better results, avoid uploading a still image — instead, use an existing animated clip along with your audio. Then, on the right panel, open the Audio tab and upload your voice file. Click “Generate”, wait for it to finish, and then download your video file.
7. Extract Frames – Video Frame Extractor
To make multiple videos flow seamlessly, you can use the last frame of a previous video as the starting frame for the next lip-sync clip. This ensures smooth transitions between segments. You can easily do this using Video Frame Extractor.
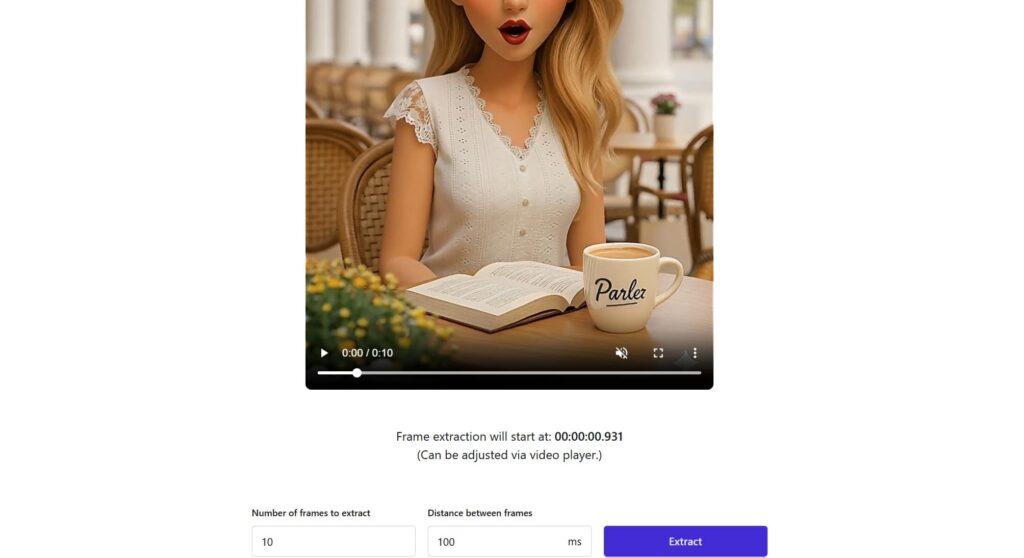
Simply load your video into the tool, move the slider to the last frame (or any frame you want to extract), and click the “Extract” button. The selected frame will appear below, and you can click the download button to save it as an image. This image can then be used as the starting frame for your next lip-sync video.
8. Edit Your Video – CapCut
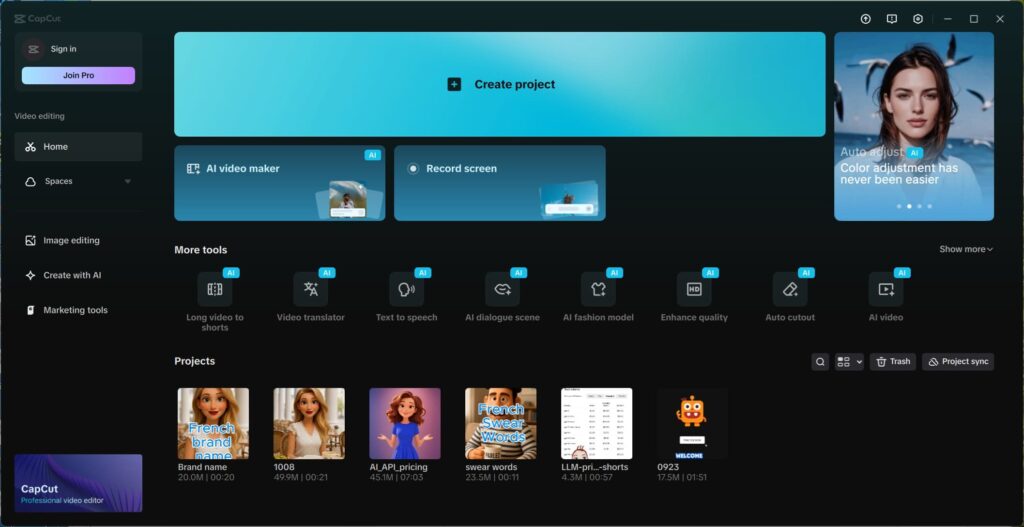
The final step is editing your video, and you can use CapCut, which you’ve already installed. Open the app to access the main dashboard, then click “Create Project” to enter the editing window.
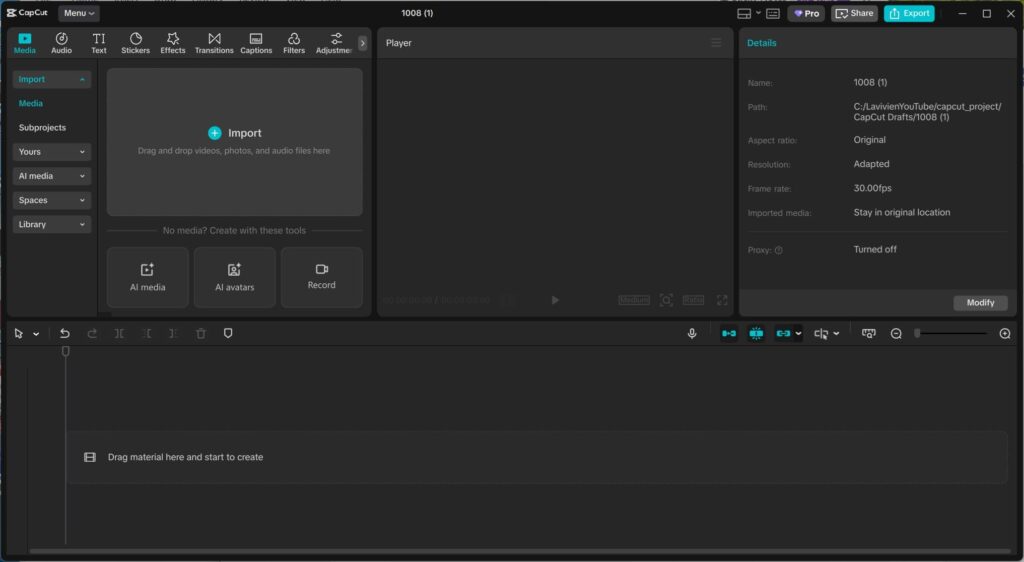
Load all your files into the timeline, including audio, images, screen recordings, and lip-sync videos. CapCut offers a variety of tools to enhance your video: you can remove backgrounds, resize images or videos, add text and captions, and even animate text using its templates. To make your video flow smoothly, you can also insert transitions between clips for more dynamic or visually interesting effects.
Once you’re satisfied with your edits, it’s time to export the video. If you want to export for free, there’s a simple trick you can follow, as shown in this video.
How to create a faceless tutorial video with free AI tools?
Write the Script – ChatGPT
Generate the Voice – Google AI Studio
Record Your Screen – CapCut
Create an Avatar – ChatGPT & Google Gemini
Adjust Audio Length – Audacity
Create Lip Sync Animation – Digen & DreamFace
Extract Frames – Video Frame Extractor
Edit Your Video – CapCut
In this post, I’ve introduced AI tools that you can use for free to create your faceless tutorial videos. For more detailed information about each tool and features not covered here, I recommend checking their official websites or searching online.